Have you ever had a miniature and thought... 'this could look a bit more 1980s rockstar'? Here is a very simple method to add reliably shaped studs to your models without using atomic sized balls of greenstuff.
You will need PVA glue (white glue), a target miniature (or test bit of sprue if it is the first time you are trying this), and something like a small bit of thin wire. I use fuse wire but anything thin with a flat edge will work. Using a toothpick or similar item with a pointed edge does not pool the glue in the same way and is not quite as effective, but will still work.
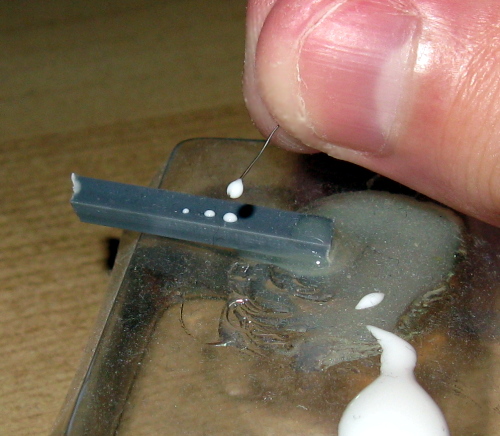
Above is an example of the tools you will need, and an example of three different sized studs on a piece of sprue. It should be pretty clear what is being done - simply dip the wire into the PVA, then press it against the model to create a tiny dot. The surface tension of PVA will prevent it from flattening any more than where you put it, so it will naturally take the shape of a circular dot.
When the dot dries, it will dry into a flat circle that looks somewhat like a small rivet (and this is a good way to create tiny rivets if you ever need it). However, this is about studs, and to change your rivet into a stud, you simply need to repeat the process on the same point multiple times, waiting for the glue to dry each time. The glue will not take long to dry as you are dealing with very small amounts, but remember to clean your applicator wire between each application or you might get some texture or large blobs transferring which can ruin the stud.
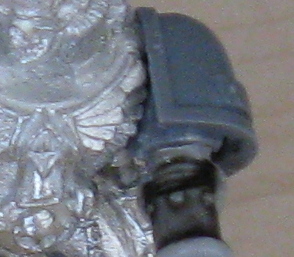
Here is an example of 4 levels of stud application:

Here is an example of 4 levels of stud application with a black wash over the area to highlight the studs. The goal was one large stud in the centre with one small stud either side of it. The angle of the photo makes them look a little lopsided, but it shows the technique results clearly:
Gemstones can be created in the same way, as well as anything that needs a small, smooth, round finish. However, once you start getting to 'gun lens' level or larger, it is usually easier to just roll a ball of green stuff and press it in to the model instead.
