...your miniatures.
Good day ladies and gentlemen. Have you ever bought those second hand miniatures off Ebay or Bartertown that you got a really good deal on because they’re covered in twelve layers of a ten year old’s attempt at art? Do you have a stockpile of old mini’s that you got when you were first in the hobby and painted them up like a four year old on crack? I’ve noticed while searching many boards that there are a lot of tutorials about painting, green stuffing, converting, dipping, air brushing and the like but I could only find peoples’ opinion posts about stripping paint off miniatures. Well, I saw the need and would like to add my own two cents worth of advice. First, let me start by saying I don’t consider myself an expert or a guru of stripping. (heh) The following is only my opinion and your way of doing things could very well be a better way for you. So now that I’ve added the disclaimer let me get on with it.
by kutzmon
Originally posted in Dakka Modeling and Painting Forums
And I decided to add to this article after stripping both plastic and metal miniatures. I am UK-based, so my advice is biased that way and I've marked it as such. Some items may only be available in the UK and others will probably have UK-specific brand names. Please, edit as appropriate to tag on additional brand names if you know them... My sections were originally posted in the Dakka Modeling and Painting Forums
by Fifty
After seeing the regular stripping questions on the forums, I think it would be good to have an in-depth tutorial on each type of stripping medium available and what they're especially good for, so people can read them all and decide what is most suitable, or how to use whatever they have purchased safely.
by LadyCassandra
Types of Stripping:
(again… heh)
I may not mention your favorite stripping agent here so if I overlook it please take no offense.
Pinesol -
I’ve tried this method but the fumes are killer and it melts plastic if the mini’s are left in too long. There’s a lot of scrubbing to be done to get all the paint off.
Fantastic -
Good for plastic but I’ve never had much luck in it removing paint.
Brake Fluid -
I’ve tried this method and the rumor of melted plastic is true. Also, it’s not very ecologically friendly.
Oven Cleaner -
Never tried it but if you read the can it says toxic if inhaled. Not really my idea of a good time on a Saturday night.
Gasoline -
Okay, never tried it… never will. The possibility for cataclysmic disaster is just too great for me.
Acetone -
aka nail varnish remover. This is very strong stuff and while it will strip anything quickly, it might damage your models as well. There have been reports in the forums of resin softening and dissolving when stripping with acetone. Works very well on metal models with several layers of paint and varnish.
Simple Green -
I’ve tried this with little success. Won’t damage plastic, is biodegradable (plus), and smells nice. (Weird I know)
Castrol Super Clean -
To me the Godsend of strippers. (okay, again… heh) This is the agent I use and have had nothing but luck. So, yeah, you probably guessed it, this is the stuff I’ll be using in this tutorial. I’ve never had a plastic melt down using CSC. In fact, when we moved to our new house I found a tub of plastic minis that I had left to soak and forgot about. No damage… 11 months later. And, it’s biodegradable so you can wash it down your sink. This is a major plus for me. This will also dissolve green stuff which is either a good or bad thing depending on your goal! Castrol has sold the rights and production of this product. It is now called "Super Clean". It comes in the same purple jug, same labeling and what not. However, it does not have the Castrol label above the Super Clean. You can still get it at Wal-Mart and automotive stores here in the U.S. Just a heads up as there was a rumor that Super Clean had been recalled
Dettol (UK) -
This is a disinfectant, so you don't want to get lots of it on your skin, but a little bit occasionally really won't harm you, just make your fingers wrinkle like you've been in the bath too long. Some people find the smell nasty, and it lingers for a little while on plastics, but personally it doesn't bother me. The good news is that it will strip miniatures fairly well in hours, very well overnight and is completely kind to plastics. I've left some in for over a week with no harm. You'll need to use some toothpicks and the like from below to get into the cracks... See below for use guidelines. The active ingredient is chloroxylenol. I picked up two 750ml bottles for £2.99 each and it is reuseable a few times. Dettol has also been found to work well for resin and forgeworld pieces, with resin left to soak for over 12 hours without any damage to the model itself. Do not use water to clean the model, as it will gunk up.
Fairy Power Spray (UK) / Dawn Power Dissolver (US) -
According to user Anodyr, this stuff is easy to get hold of, clean, safe, doesn't stink like Dettol, works perfectly after a 30 minute soak and works on metal and plastic. "Best stuff I've ever used for stripping."
Denatured Alcohol (AKA Methylated Spirits) -
Addition by CaptMytre. Cheaper than most of the above, 4L for roughly $12 in Aus (so should be cheaper elsewhere). Works wonders on plastic/metal. Don't use on resin miniatures, as it will soften details/melt the model depending on duration. NOTE: Some brands include acetone in the Denatured Alcohol mixture, and as talked about above, will damage plastic models. As with all of the above, test with a spare piece of plastic before risking your models.
Using Castrol Super Clean
Supplies:
1 gallon jug of Castrol Super Clean (CSC)- Can be bought in any automotive store or Wal-Mart type store. Comes in a purple jug for about $4.00.

CSC... the quicker taker outer
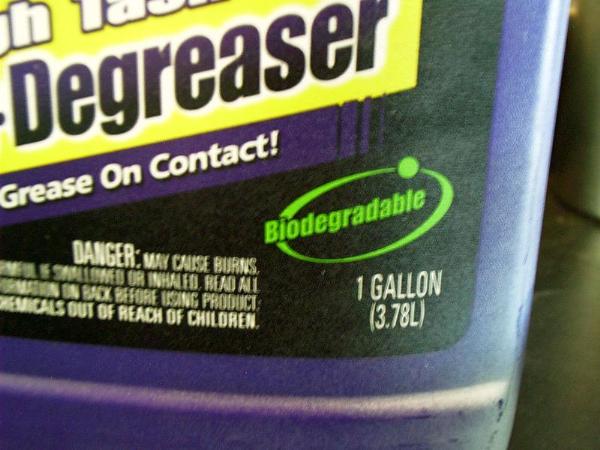
Biodegradable... YAY!!!!
Sealable container- I use those disposable plastic tubs you put your leftovers in. However, any sealable plastic container will do.
Stiff bristle tooth brush- Key word, stiff. No soft on the teeth delicate momma’s brush here. I use my wife’s. Don’t tell her.
Nitrile rubber gloves- These are a must. The picture below shows the damage that can occur if you don't use the proper safety gear. This is after 4 days of healing. Trust me, the pain is pretty bad. You can get a dozen pairs for $1.28 at Wal-mart. They even come in pretty purple.
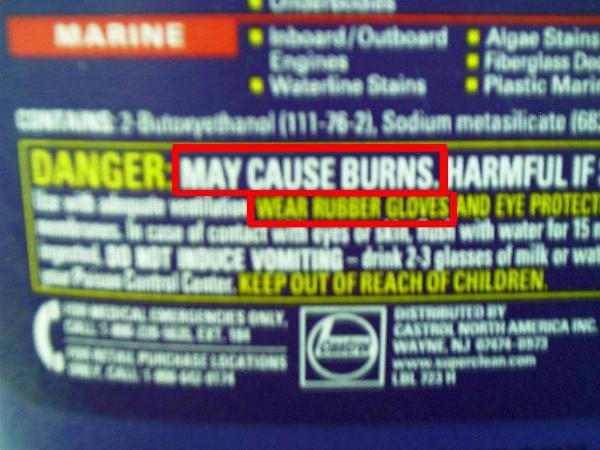
May cause burns?... BS!! WILL cause burns!
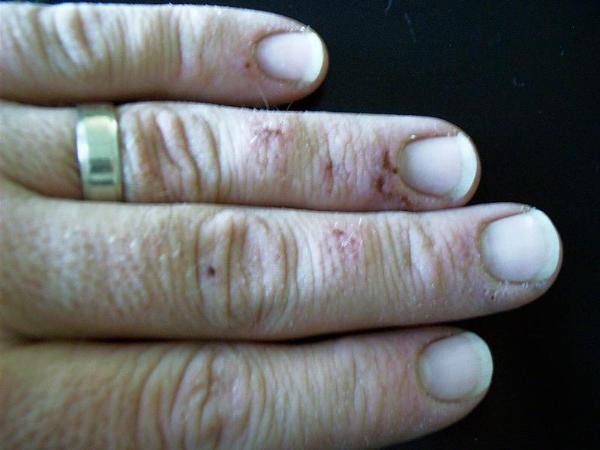
OW ow ow ow ow ow ow ow
Exacto knife- Careful, these little buggers are sharp.
Paper towels- Just something to lay your mini’s on to dry. I don’t recommend using a wife’s/girl friend’s shirt for this. Trust me on this one, okay. (see tooth brush above)
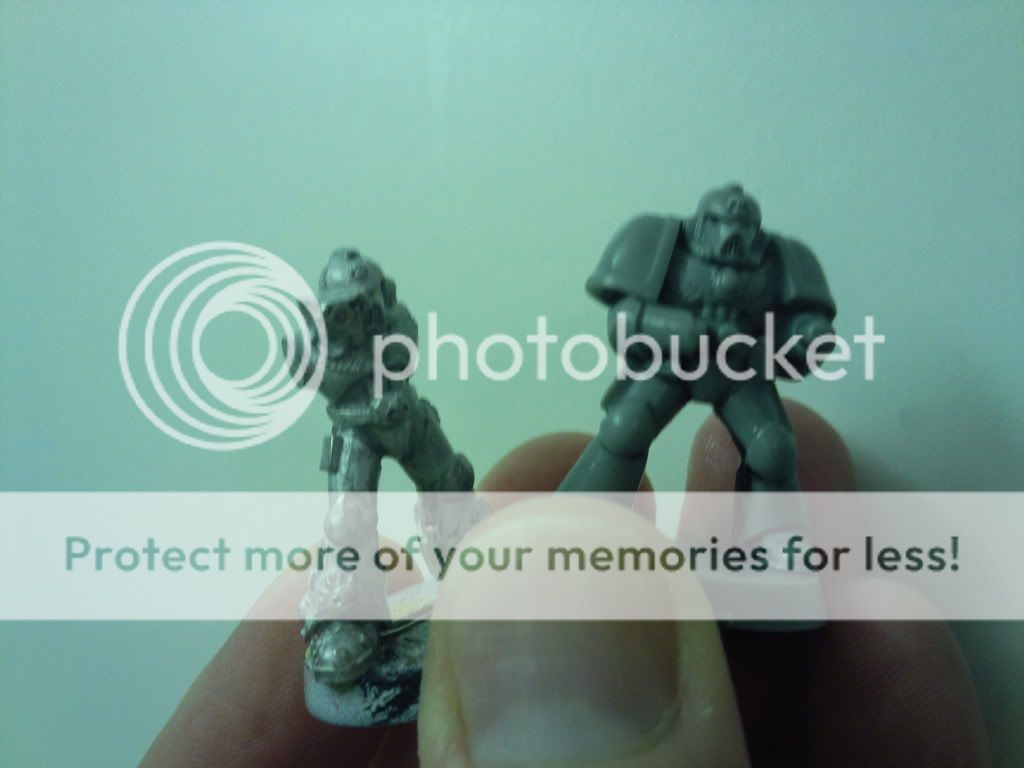
Miniatures- Well, duh. Plastic or metal. Makes no difference.

God awful painted ebay extras
Dish soap- My wife keeps buying different scented soap so use whatever you have on hand. This week it’s strawberry at the Casa de Kutzmon.
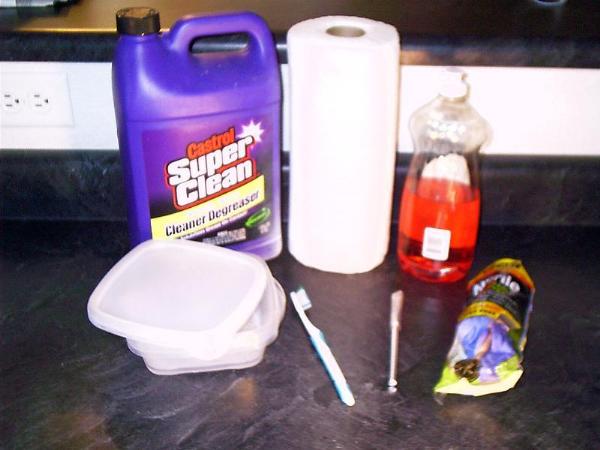
All this and you're ready to go
The Process:
Fill container to a level that will completely submerge the mini’s in the CSC.
Drop in minis.
Get down you!
Seal container. There is a bit of an odor from the CSC but I kinda like it. It’s almost an industrial minty smell. Okay, I’m a bit weird on that. I also like diesel exhaust. Anyway, it keeps the smell on the inside of the tub and if you have a wife like mine you’ll put the lid on. (Again, see tooth brush above)
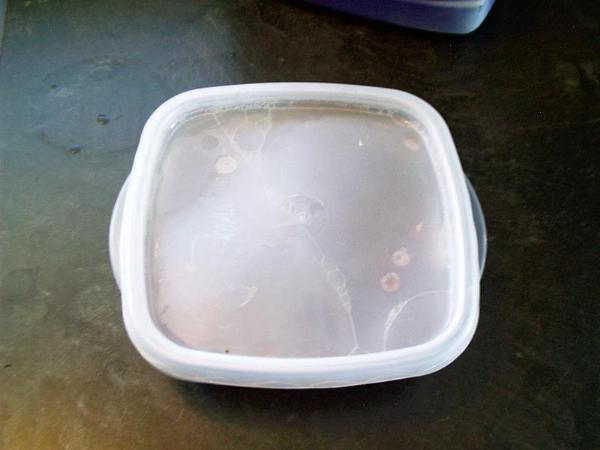
Yep... it's a sealed container
Here’s the hardest part… wait. I usually soak mine overnight. I’ve gotten ahead of myself a couple of times and only let the mini’s soak a couple of hours. Trust me, it’s better to wait. It cuts down on the scrubbing and it will stop you from saying, “So, Kutzmon, where’s the magic of the CSC?” I’ve had to re-soak after being impatient.
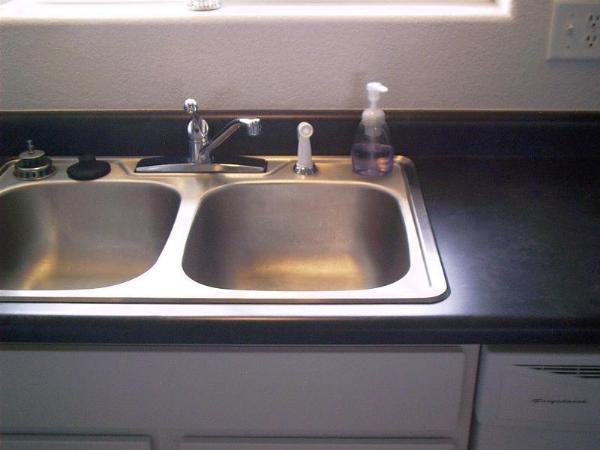
Next day. Take your tub o’mini’s, the tooth brush, (Ahhh, right where she always leaves it) the nitrile gloves, the paper towels (or equivalent) and head over to your favorite sink. I use the kitchen sink when the Mrs. isn’t around and she hasn’t suspected a thing. Cleanup is a cinch. Otherwise it’s off to the basement and the utility sink. I hate the laundry room. It’s uncomfortable to work in and there’s always that basket full of laundry I feel guilty about not doing. But I get over it.
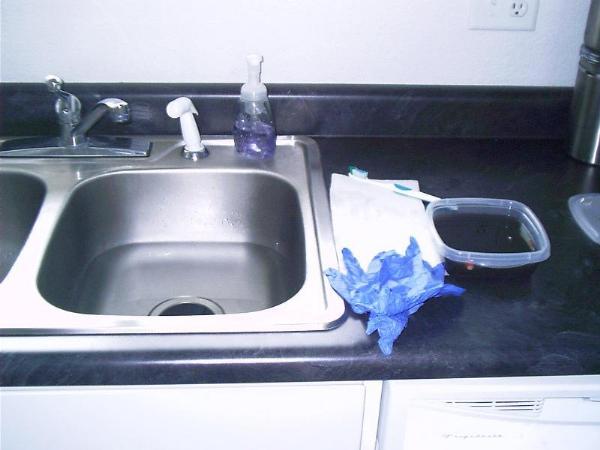
Ready to go.
Lay down your paper towel next to the sink. Fill the sink with about 4” of hot water. Don your nitrile gloves. (Please, do this step. Chemical burns suck!)
Open your tub, grab out the first mini- careful, they’re slimy and hard to hold on to- and get to work with the brush.
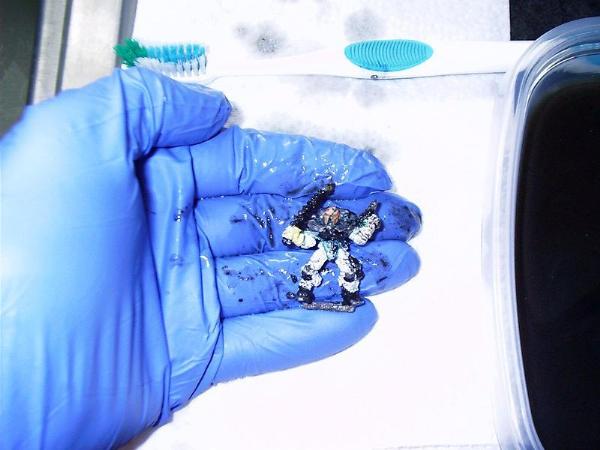
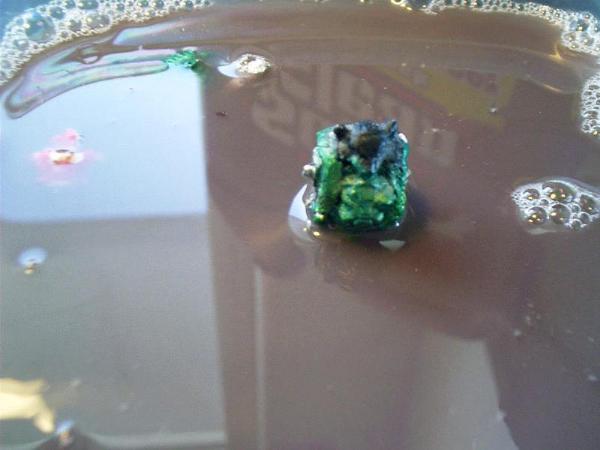
Out of the Dip.
The paint should just peel off with little effort. Pay close attention to the little recesses.
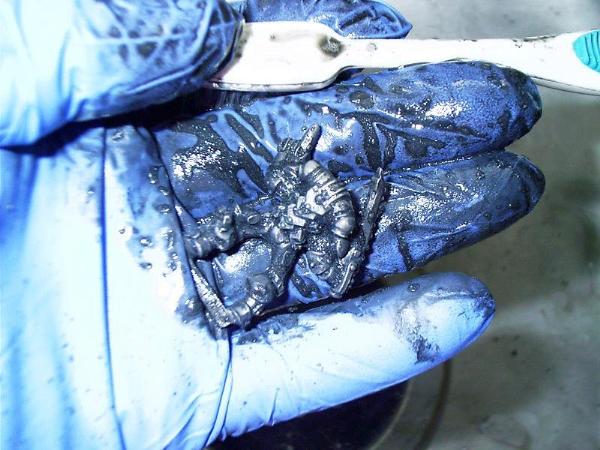
Brusha brusha brusha
This is where the paint is usually the hardest to scrub off. If your miniatures were assembled with super glue they will fall apart. The CSC doesn’t seem to effect model glue at all. Maybe because model glue welds the plastic? Hmm… have to look into that one. Also, it seems that black primer is a bit of a bear to get off your plastic mini’s. It appears to stain plastic. I’ve never been able to get a plastic miniature completely clean when primed in black.
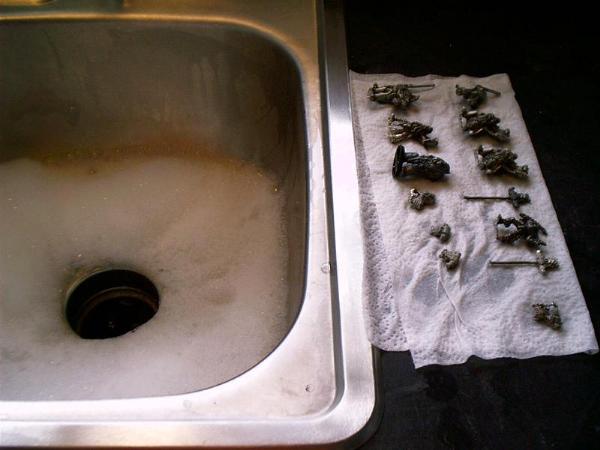
Rinse off your mini in the hot water and place on the towel.
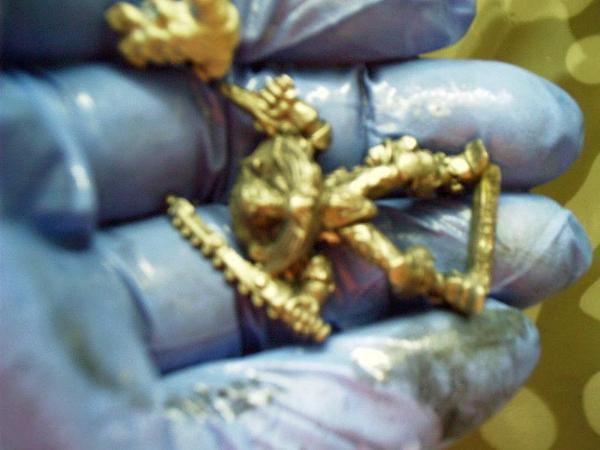
Lookin' good
Just a note here, I like to place my parts together for each mini. This way you can track what pieces may be lying in the dip or the bottom of the sink.
Icky
I can usually strip around 20 complete miniatures in about 10 minutes. Then I have to take a break and stretch. Bending over the sink is hard on the back.
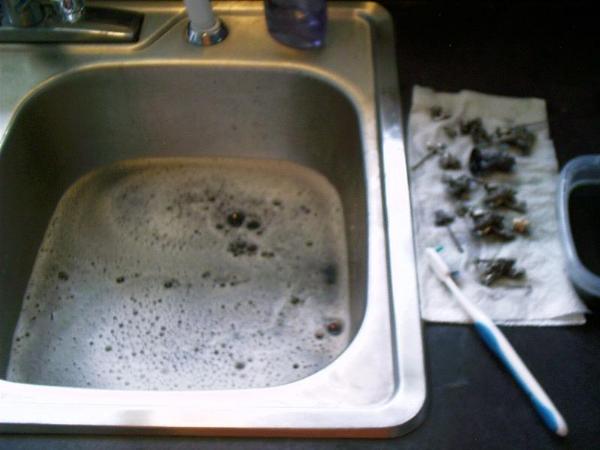
When all your little treasures are looking spiffy and clean run your hand around the bottom of your sink to make sure you have all your pieces. Nothing sounds so bad as a bolter in the garbage disposal. Drain the water. Wash the sink with a bit of dish soap to remove any CSC. Rinse thoroughly.
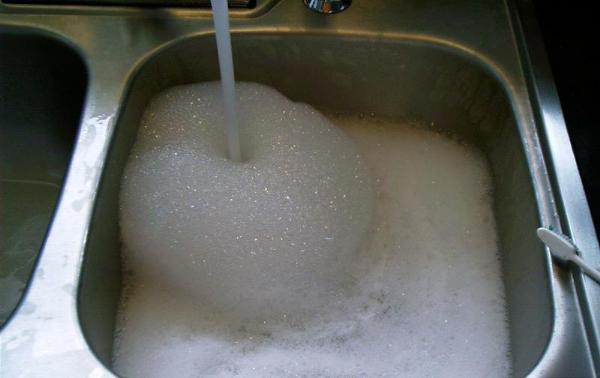
Refill the sink with about 6 inches of hot water and a bit of dish soap to give you a nice foamy bath.
Nice and soapy
Drop all your miniatures back in the sink. Agitate the mini’s to give them a thorough wash. You need to get all the CSC off in order for your new paint to stick. Rinse your minis to remove the soap.
Rinsed and relaxed
Take your exacto knife and scrape off any super glue remaining. This usually just flicks off when I clean up. The CSC breaks the bond but needs a little help in total removal.
Leave mini’s to dry. Replace wife’s toothbrush in holder.
If you’re cheap like me you can put a coffee filter in the top of the CSC jug and pour your dip back into the supply. You’ll be surprised what’s left in the filter and the bottom of the dip tub. I’ve had the same jug for two years and it’s never lost it’s ability to strip paint. It’s been through 50 high elves, 60 Empire guys, 75 IG, almost 150 marines, and a few vehicles as well.
Well, there you have it. Nice clean mini’s ready for trading, painting, or whatever you would do with nice clean minis.
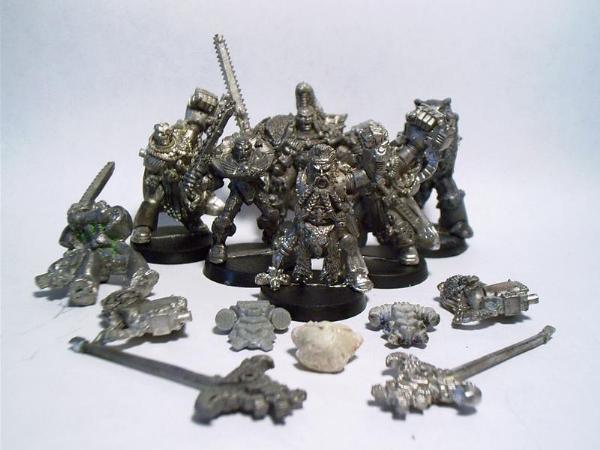
Oops, missed a spot of green there
The post scrubbing clean up is pretty simple and quick. I just take a warm soapy cloth and clean up the surrounding area of any over spray from the brushing. My wife still doesn’t know about the kitchen sink but she’s starting to dislike the taste of her toothbrush.
Nice and clean... she'll never know
On an end note you’ll notice that the head from the RT era body is missing from the final picture. Remember when I said to run your hand around the bottom of the sink after rinsing? Yeah, I skipped this step… beaky heads make a hell of a racket when going through the garbage disposal…
Using Dettol
For miniatures, I put the models in one of the small citadel plastic inner cases (the size the seer council or swooping hawks come in). The variable section sizes mean you can select the smallest bit possible for the models you are doing to avoid using excess fluid. Then I just fill up high enough to cover the model. Below you can see a Space Marine Chaplain from EBay I have soaking now. (to be added later) You can also close up the lid to contain the smell for the sake of those who dislike it.
Once you take it out, much of the paint will fall off with a tiny bit of coaxing from a small wooden tooth-pick. The tooth pick can then be used to start getting paint out of the cracks. One (max two) toothpick is enough per model.
After that, cotton buds can be used to begin cleaning any rough surfaces. Again, one per model is enough.
Once the rougher areas are dry and as clean as possible using cotton buds, tissue paper or whatever you decide on, Blu-tac (UK) can be pressed into the rough area as if taking an impression. When the Blu-tac is pulled away it will bring almost all of the paint from the hardest to get into depressions. Repeat this and all of the paint can be removed. The Blu-tac can remove a LOT of paint before it stops working.
If you think you are likely to get a lot on your fingers, wear a rubber glove on one or both hands.
The dettol will get a lot of paint in it and may turn a bit cloudy, but it is good for a few uses, at least.
Using Acetone (Nail Varnish Remover)
Supplies:
- A bottle of nail varnish remover. Don't get acetone-free (obviously) and the cheaper and nastier the better
- A metal miniature that needs stripping
- A glass jar with a metal lid
- Washing-up liquid
- A needle, pin or other small metal implement that can get into the mini's recesses
The Warning:
Do not use acetone on anything plastic. This includes the container you put it in, the lid for the container, and the miniatures. It also means don't use latex or rubber gloves, the acetone won't harm your skin for short periods of time but it will eat through gloves!
The Process:
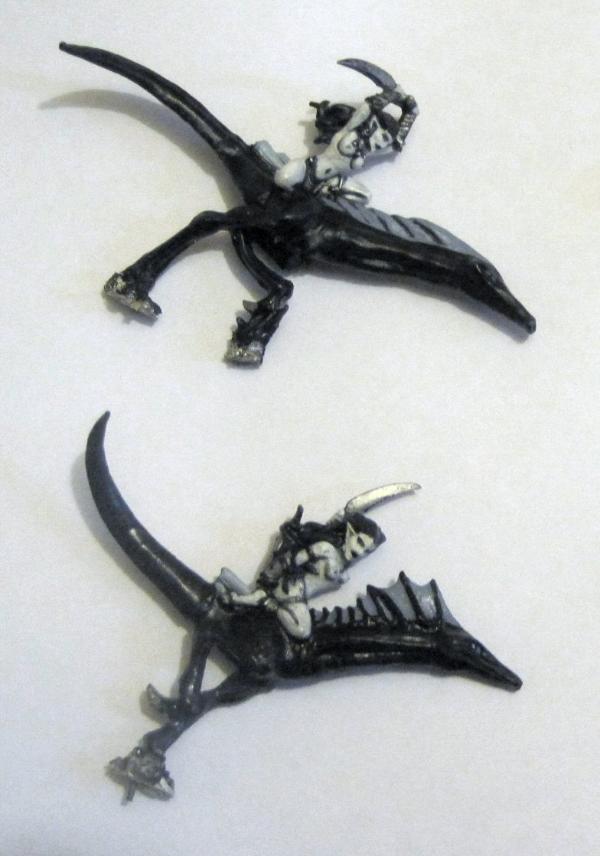
Get your painted miniatures. These miniatures were hand-basecoated (so no primer, though considering what acetone does to varnish, it may or may not eat primer anyway) and then sealed after about five layers of paint with gloss varnish, and then matt varnish on top of that. REMOVE THE BASES. Don't think that you can balance the mini so the base is out of the stripping solution, it will either fall in or at the very least will get pitted by the acetone fumes. Believe me, I know. :D
Get your glass jar and check the minis will sit comfortably at the bottom of the jar. Pour the acetone over the minis until they're covered. If they need a boost, dilute the acetone a little bit and increase the time required for it to work accordingly.
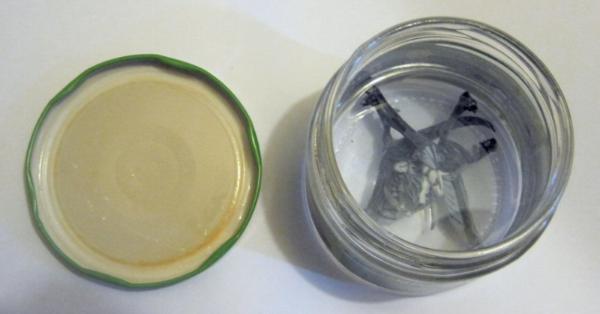
Put the lid on, you don't want the acetone fumes making your entire house smell.
Leave them for a while. If you just have a couple of layers of paint, then wait 10 minutes or so. If you have several layers of paint and several of varnish, wait 24 hours for the acetone to permeate through all the layers. If you really can't be bothered, leave them until it's convenient to do it, as you can leave metal miniatures in acetone for a very long time.
Unfortunately I don't have pictures for this section.
Take the jar into the kitchen and fill the kitchen sink with a couple of inches of lukewarm soapy water (this is where the washing up liquid comes in). Put a piece of kitchen towel on the side next to the sink and put your needle somewhere handy.
Open the jar, and quickly pick up the miniatures and drop them in the water. Then wash your fingers and replace the lid. If there isn't any detritus swirling around in the acetone, it should be good for more stripping for some time yet. Put the jar to one side and pick up your first miniature.
Note: Do not scrub off the paint, this will leave you with a mess of bits and will make it a painstakingly slow process.
Look at the miniature, and figure out how to subsect the paint coating so it will come off easily. The acetone has turned the paint into a thin coat over the model that is no longer sticking to it. By using your thumbnail to create tears, you can then simply roll the paint off, much like taking off a sock. In this case, I made a tear at the base of the tail first and then rolled the paint on it off and dropped it back into the water (you could also probably drop the paint in a bin or other receptical, but I'm lazy.) I did the same for the neck, the legs, and then took off the paint on the rider a bit at a time. To lever paint out of recesses, slid the needle underneath the paint layer and lever it out gently. Try not to tear the paint layer, as this will always make your life harder. This is one of the few times that lots of layers or paint will make it easier to strip, so if you have the extra paint, a few more layers might make it less fiddly.
Acetone will melt green-stuff, and turns super-glue rubbery. A good pull will take apart a miniature and you can use the needle or your thumbnail to lever out the glue from the recesses.
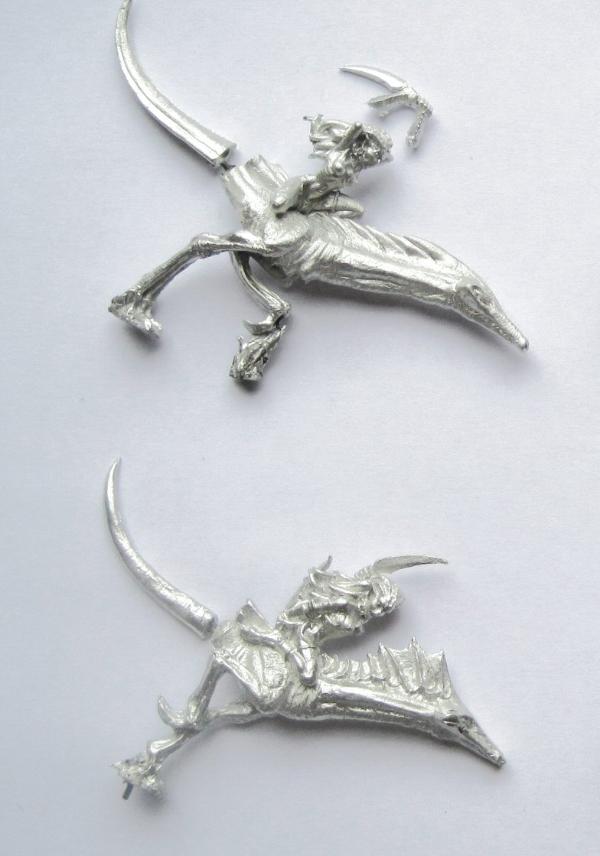
Once the model has been stripped of its paint, put it on the kitchen towel to dry. Once you've finished, collect the bits of paint from the water and throw them away. As only a tiny amount of acetone has entered the water and being very diluted, its perfectly safe to allow the sink to drain.
Enjoy your now stripped models!
Using Fairy Power Spray / Dawn Power Dissolver
New discovery for UK Gamers Fairy Power Spray (Only The Older Bottles with a Red "Swoosh" still work, the new formula is useless for stripping). I cannot claim this as my discovery but many people are using this product now. It works really well, just spray on leave for about 60 minutes and then rub off with a toothbrush, as good as new on plastics and metals!

Pretty good, costs about £5. You can import it from here : http://www.britishsupermarketworldwide.com/acatalog/info_34213.html (For our friends from the US, Dawn Power Dissolver is pretty much the same stuff and works just as well!)
You don't even need to wait that long. This gets to work almost immediately and I have stripped a model bare after only ten minutes! 2 squirts, a quick agitation with a toothbrush and leave for ten minutes after which time a quick light brush under running water and it's clean as a whistle.
It is safe to work with; it has no noxious fumes or strange side effects afterwards.
It is safe to use on plastic, metal and green stuff!! You get the best of all worlds in one! Some people claim that this might take detail off your model or even make it go soft, which is impossible as the ingredients within this cannot harm plastics.
If you don't believe me or wish to check out the info, the product code is 95709318. Go to http://www.info-pg.com/eng/result and type in the product code.
The actice ingredient is PAA, Polyacrylic Acid. (Don't worry about the word acid) This ingredient, basically, breaks down the acrylic and with the help of the other ingredients and scale inhibitors ensures it cannot harden and keeps it water soluble. It washes clean off in running water and a toothbrush.
Before : http://i756.photobucket.com/albums/xx210/Elmodiddly/Photo006.jpg
Ten minutes later : http://i756.photobucket.com/albums/xx210/Elmodiddly/Photo011.jpg
Nitro Mors
One of the most evil substances known to mankind.
This stuff burns on skin contact and eats plastic like a hot knife through butter but works a dream on metal models.
It also reacts badly to water producing a noxious gas if large amounts are mixed so make sure you're well ventilated.
Just as a brief british or even maybe us too input, i have just imersed a few metal models in a product called Ultimate Stain Devils No8 and within minutes it got to work on paint on metals :D