In Warmachine, a model's front arc is determined either by its head face or shoulder orientation. Centered on this point, the front arc is a 180 degree half circle that represents the area from which the model can see.
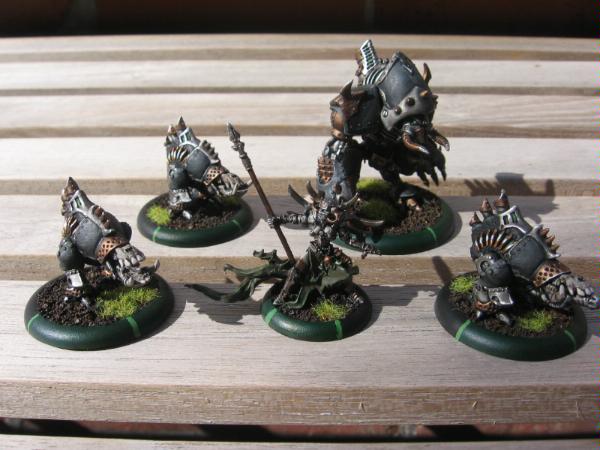
One accepted convention for this is to mark the model's base with lines to make it easier to tell, at a glance, where exactly a model's front arc is at all times. Though the method is clear, I've always disliked it as a distraction from the aesthetic of a painted model. It's for this reason that I decided to try to make a front arc marking that was both clear and removable with the help of Litko Aerosystems .
.
Objective
Make a removable front arc facing for Warmachine's 30mm, 40mm and 50mm sized bases.
Materials
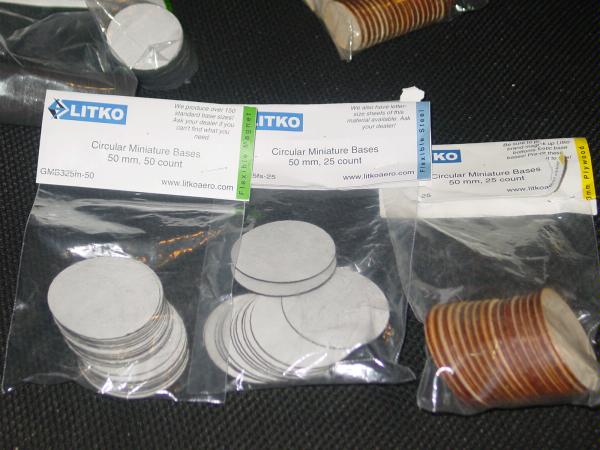
Above you can see the products from Litko's Circular Bases section of their store. I ordered Flex Magnets to go under my minis, 3mm plywood circles for the painted base, and Flex Steel bases to magnetize the plywood circle.
For purposes of my original test run, I purchased:
- 100 Flexible Magnet 30mm Bases $15.99
- 50 Flexible Magnet 40mm Bases $9.75
- 50 Flexible Magnet 50mm Bases $9.75
- 50 Flexible Steel 30mm Bases $9.75
- 25 Flexible Steel 40mm Bases $5.49
- 25 Flexible Steel 50mm Bases $5.49
- 50 3mm Plywood 30mm Bases $9.75
- 25 3mm Plywood 40mm Bases $5.49
- 25 3mm Plywood 50mm Bases $5.49
- USPS PRiority Mail $6.75
- Grand Total: $83.70[1]
Why so many magnets? The magnets go under all my miniatures. Why fewer plywood and steel? The plywood and steel are in equal numbers since they'll be attached together. Also, if you do it right you only ever need to make a set number of the plywood + steel bases since you'll be swapping your minis in and out between different models in the army as well as between models from different armies.
Procedure
Attach the flex magnets to the bottom of the model bases. The white backings cover a sticky film that is generally strong enough to hold the magnet or steel to a model or base, but I like to glue them for insurance. So the sticky side will glue to the model's base bottoms, and the magnet side will face the ground.
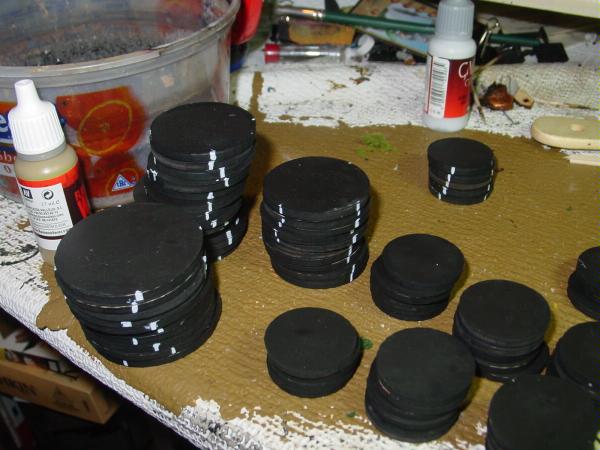
The plywood bases will have a brown wood resin on the edges that you can wipe off with a damp cloth. Wipe them off and then attach them to the flexible steel bases.
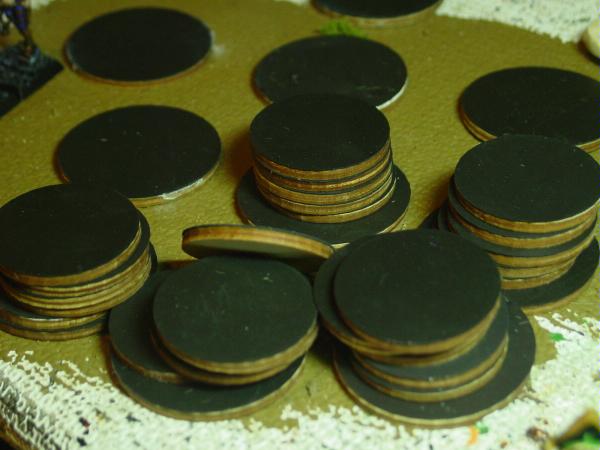
Paint the exposed edges of the plywood bases black. Remember that the flexible steel will face upward, toward the model, and therefore it isn't necessary to paint the bottom of the plywood base.
Download Youngwolf7's Front Arc Template and print it out.
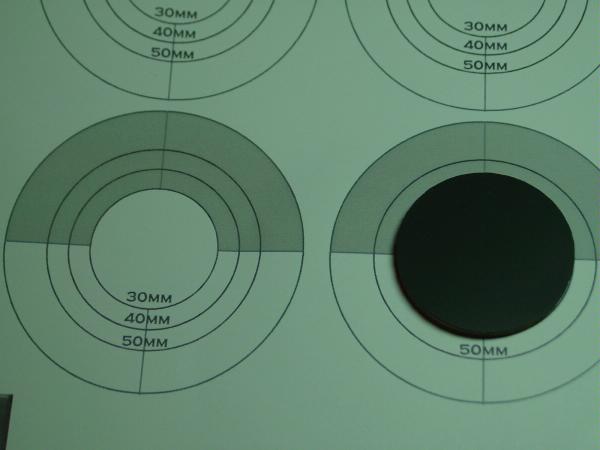
As you can see, the template has lines to help guide you to make three marks: left, center, right [2].
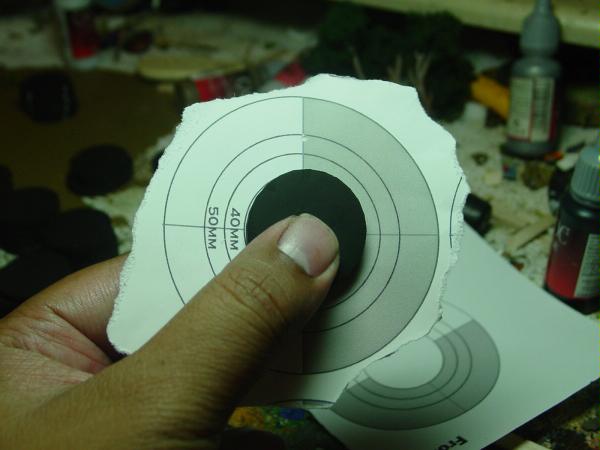
I tore the sheet up to make it easier to hold. I tried stacking the bases to complete more than one at once, but that got very sloppy so I reverted back to doing them one at a time.

I'm not the most meticulous person in the world, but you can see the result of many line painting sessions below [3]
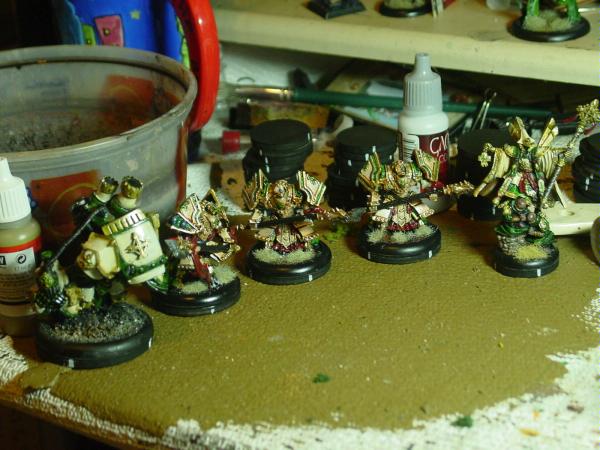
Finally, when you're done, your minis should magnetize to the plywood base, show front arc markings and remove themselves from the base quite easily.
Concerns
- Expense
- Yeah, I put some money into it. One notable thing about the prices is that the price per base goes down when the bases are bought in bulk. Put in an order with other people to cut down on costs, or use flex sheet to save on cost. Buying it from Litko saved me the headache of cutting sheet (and I'm not sure how many circles you can get out of sheets of flex steel and magnet).
- Less visible from the top view
- Short of making the actual base removable, I couldn't think of a way to make it clearer from a top down view.
- Increased model height
- The model is taller by 3mm by the plywood base alone with some thin additional height from the flex steel and magnet. This is a minor problem in Warmachine MKII as models use a "magic cyclinder" for determining height for Line of Sight purposes.
- Sloppy lines
- This can't be fixed by anything short of a miracle. At least not for me it can't.
- Number of models on the table
- I bought too many 50mm plywood bases and not enough 30mm. For certain armies, such as the Trollbloods, I might even be short on 40mm plywood bases. By asking on the Privateer Press forums, I later determined I might need 50-100 30mm bases, 25-40 40mm bases, and 10-15 50mm bases. This number goes up with additional warlocks/warcasters, but those instances are rare and can be prepared for later.
- Number of needed magnets
- 100 flexible magnet bases wasn't enough for my Protectorate of Menoth Army. Remember that you need 50mm bases for your cavalry models and things such as the Covenant of Menoth.
Other Uses
Feel free to edit this section if you can think of additional uses of this method of basing
- Carry cases
- One of my opponents used magnetized basing to carry his models from place to place. They stood on shelves in a vertically tall toolbox that held multiple shelves lined with steel.
- Necromunda or other RPG type game
- I happen to dislike model names on model bases, mostly because the paint jobs look better than the freehand used to name the model. You can use this method to freehand the names on the plywood base to help you reference your sheet.[4]
- Multi-wound model labels
- Label the backs of some of the 40mm and 50mm plywood bases to help you reference the wound trackers on the cards of cavalry and other multi-wound models. [5] You can do this with some 30mm ones, too [6]
Snarky Footnotes
- 1 Yes, this wasn't a cheap test
- 2 No, not that silly dice game
- 3 Line PAINTING, not snorting
- 4 Remember this makes the models taller. And no you can't just do it to the Juves so that they can protect your leader!
- 5 I usually just put down blood tokens I bought from Litko. No I don't work for them. Then people would never get their stuff
- 6 Gius and Cassius, anyone? They both look the same to me.