Hello
This is my Tutorial on how to make easy, good looking pieces of art for your minis. It's a very simples thing to do, and requires few things to get started.
You will need:
- Any picture of a mini. - It's more personal is it's your own model, though anything is ok. I've used a GW model for the tutorial, and the LotD shown later is based on the GW model. Also, action posed models look the best
- A photo editing Programn. - Photoshop, Fireworks, Gimp ect. I personally use Paint.net as it's free!
Step One
First thing you need to do is find a suitable image. If the model is part of a squad, trim the rest of the members from the image. This isn't entirely necesary, but I believe it will made the rest easier to do.
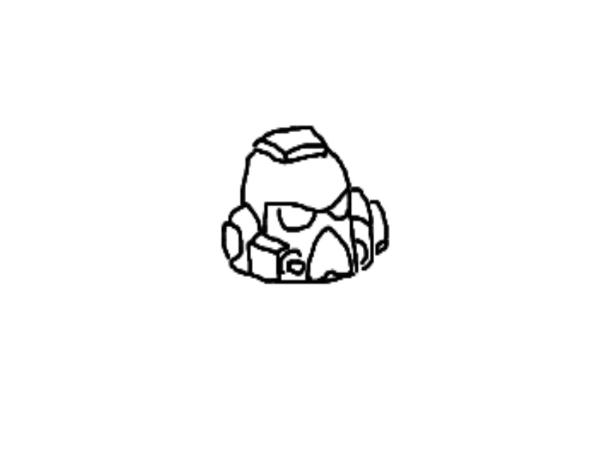
Next, trace around the prominant edges of the image as seen in the picture below, so you are left with a simple Black and White image.
Step 2
Next thing to do is fill in the major colours. Make sure you fill in any gaps in the lines or this step won't work.

Step 3
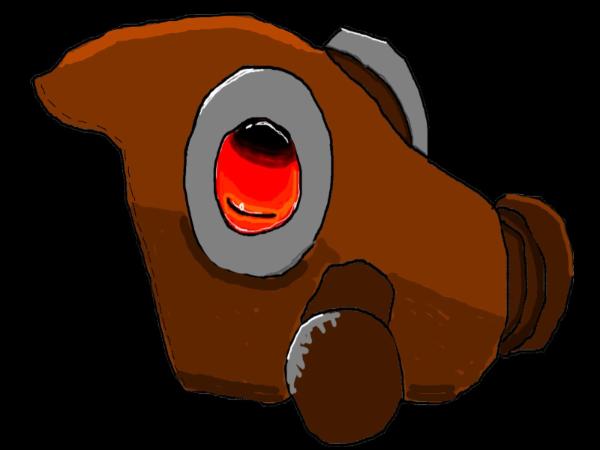
Highlight and shade the image, as well as adding details, such as the eye lenses here. I find painting tips really helpful. The lenses were actually based on a Gem tutorial in WD.

Step 4
Finally, add any background and details to the image. This is not necessary, but makes it look much better.
I don't have pictures of this step, but you can see a background on the LotD image below.
Thanks for Reading, below are some of my other images done in this Technique.
A Hrud Gasmask based on a GS Conversion of Mine.

My Favourite Image of a LotD Marine. This one took the longest of all of them as I went into the most detail.
